Check the tear before reaching for a patch
Set the bag or tent on a clean, flat surface and look at both sides of the damage. A short, straight tear in otherwise sound fabric is a good candidate for an adhesive patch. If the surrounding material is brittle, badly worn or pulling apart at a seam, a patch alone may not hold. Repairs near a strap attachment, tent pole point or other high-stress area may need stitching or a specialist repair.
Check what you are repairing, too. A bag’s nylon body, a tent fly, a tent floor and a mesh panel may all need different materials. Mesh is best repaired with a mesh-specific patch or careful sewing so air can still pass through. For coated tent fabric, patch adhesion depends on the coating. Silicone-coated fabric generally needs a repair product made for silicone surfaces; tape intended for other coatings may peel away. If you are unsure, check the item’s care label or the repair product’s compatibility instructions.
Gather materials that suit the fabric
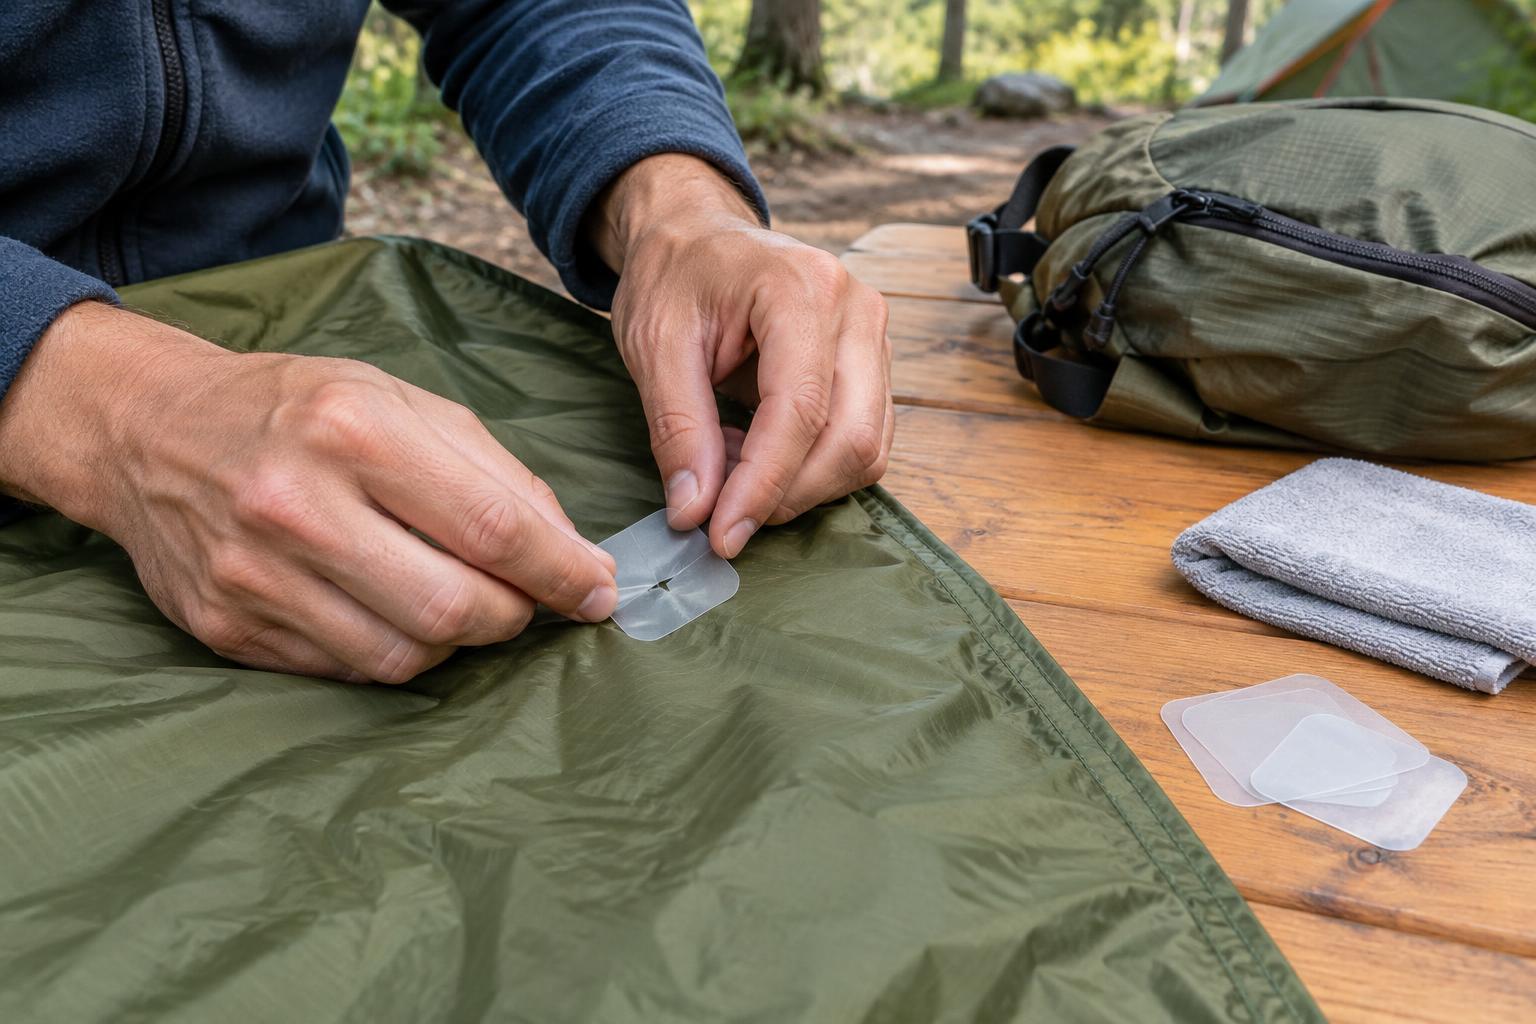
For a small tear in solid nylon, you will usually need scissors, a clean cloth and a self-adhesive repair patch or tape compatible with the fabric. A matching color makes the repair less noticeable, but full coverage and a secure bond matter more. If a patch needs adhesive or sealant applied separately, use the product specified for that patch and fabric rather than assuming any household glue will work.
Choose a patch that extends beyond every edge of the tear, leaving a generous border of intact fabric for the adhesive to grip. Round its corners with scissors: sharp corners are easier to catch when a bag rubs against clothing or a tent is packed. For a tear that opens under tension, patching both sides can help stabilize it when both surfaces are accessible and the patch product allows it. On a waterproof panel, pay particular attention to the side exposed to rain and to any product instructions for sealing the repair.
Clean, align and apply the patch
Empty the bag or take tension off the tent panel before working. Brush away grit, then clean the area as directed by the patch manufacturer. The fabric must be fully dry before you apply an adhesive patch. Avoid fabric softener residue, oily cleaners and aggressive solvents, which can interfere with adhesion or damage a coating. If the item is damp from a trip, let it dry first rather than trapping moisture beneath the repair.
Lay the fabric flat and gently bring the torn edges together without overlapping or stretching them. Place a firm backing, such as a smooth board, under the area if you can. Peel the patch backing away gradually, position the patch over the tear and press from the center outward to push out air bubbles. Press along the entire border, especially the corners. If you are patching the reverse side as well, keep the fabric flat while applying the second patch so the two sides do not pull the tear out of alignment.
Give the repair the time recommended on the product packaging before packing, washing or putting the fabric under tension. Some adhesives feel secure immediately but develop a better bond after resting. Do not test the repair by yanking on it; a gentle check around the edges is enough.
Handle tent panels and bag stress points with care
A tent fly or floor should be pitched or laid out so you can see how the fabric sits in use, then relaxed for patching. This helps you avoid sealing a fold into the repair. On a tent floor, inspect the opposite side as well: abrasion from the ground may cover a larger area than the visible tear. A patch on top of fraying fabric cannot restore the strength of fabric that has worn thin across a broad patch.
On a bag, check whether the tear sits beside a zipper, seam, handle or shoulder-strap anchor. These areas flex and carry more load than a flat pocket panel. An adhesive patch can cover a small surface cut, but it should not be relied on to reattach a load-bearing part. Likewise, stitching through a waterproof tent panel can create new holes; if stitching is necessary, the finished repair may also need compatible sealing.
Check the repair and prevent the next tear
After the adhesive has set, inspect the patch edges and flex the fabric gently as it would move in normal use. If a corner lifts, follow the product’s guidance for reapplying or replacing the patch rather than piling on unrelated glue. Before relying on a repaired tent in wet conditions, check it with a light spray of water at home if practical. Keep in mind that a quick test may not reveal every leak that prolonged rain could expose.
To reduce future damage, keep sharp tools and stove parts in protective sleeves, avoid dragging bags over rough surfaces and clear sticks or stones from a tent site before pitching. Dry and clean equipment before long-term storage. A small, fabric-compatible repair kit in your travel gear makes it easier to deal with a fresh tear before it spreads.