Confirm where the water is coming from
A drip near a stitched panel is a useful clue, but it does not prove the seam is leaking. Condensation can collect on the inside of a rainfly and run toward a seam before falling. Water can also enter through a damaged patch of fabric, an open vent, a zipper or a poorly positioned groundsheet. Before reaching for sealant, set the tent up fully, tension the fly as you would on a trip and look for the first place moisture appears.
A controlled test can help. On a dry day, close the doors and vents, then gently wet one area at a time with a hose on a soft spray or a watering can. Have someone watch from inside, or check between areas with a dry cloth. Avoid a forceful jet, which may push water through places that would not normally leak. Mark suspected spots with a small piece of removable tape once the fabric is dry.
Inspect the seam and its coating
Look closely at the stitching, especially around the roof, fly attachments, corners and floor. Signs of a seam problem include water tracking along stitches, cracked or peeling seam tape, and gaps where tape has lifted from the fabric. If the fabric beside the seam has a hole or worn coating, sealing the stitches alone may not solve the problem. A tear may need a suitable patch, while widespread coating deterioration can be harder to repair reliably.
Find out what the tent fabric is coated with before buying a product. Many tents use polyurethane-coated fabric, while some use silicone-coated fabric; a tent can also use different materials for its fly and floor. Check the care label or maker’s instructions if available. Choose a seam sealer specified for that coating. A conventional polyurethane seam sealer may not adhere well to silicone-coated fabric, and silicone sealant may not be suitable for a polyurethane-coated seam.
Prepare a clean, dry work area
Pitch the tent or lay the panel out so the seam is accessible and can stay undisturbed while it dries. Work in a well-ventilated place and follow the product label for temperature, application side and curing time. If the tent is wet from testing, let it dry completely first. Sealant applied over trapped moisture or grit is less likely to bond cleanly.
Remove loose dirt with a soft brush or damp cloth, then let the seam dry again. If old seam tape is peeling, gently remove only the loose portions and any flaking adhesive, following the tent maker’s guidance where possible. Do not scrape aggressively or pull firmly attached tape away from sound fabric. Wipe away debris before applying anything new. For an unfamiliar sealant, test a small, inconspicuous area first.
Apply sealant with a light hand
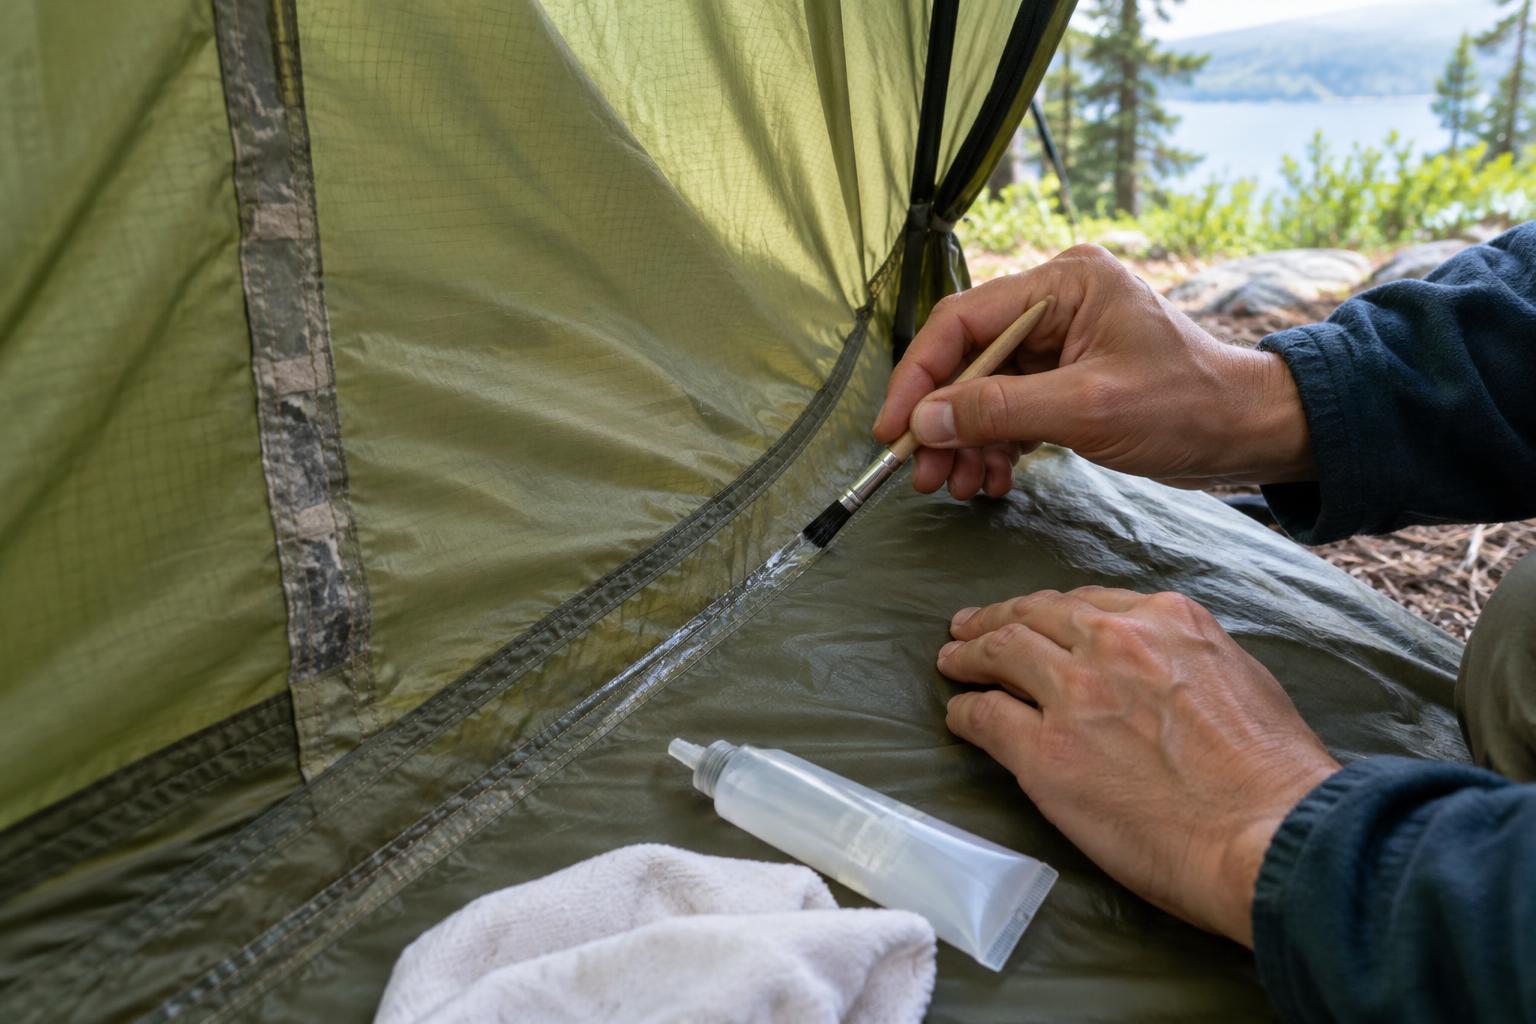
Follow the instructions for your chosen product rather than assuming every seam is sealed in the same way. Some coated seams are treated on the inside, while silicone-coated fly seams may be treated on the outside. If sound factory tape covers part of a seam, there is usually no reason to bury it under a thick layer of sealant. Concentrate on the exposed stitching or damaged section you identified during inspection.
Use the supplied applicator or a small brush to spread a thin, continuous coat across the stitch line and needle holes, extending slightly onto sound fabric on either side. Pay attention to corners and places where several panels meet, but avoid building up heavy blobs. Keep the treated panel from folding onto itself while the sealant cures. Wait the full time specified on the label before packing the tent; a surface that feels dry may still need more time.
Retest and plan for the next trip
Once the repair has cured, repeat the gentle water test, starting with the treated area. If water still appears, dry the tent and check whether you missed a short stretch of stitching or whether the moisture is arriving from somewhere else. A leak that spreads across a broad area of fabric, rather than following a seam, may point to a coating or fabric problem instead.
Before storing the tent, let it dry thoroughly and make sure sealed panels will not stick together. On future trips, brush off grit and dry the tent after use when practical. Inspecting tape, stitching and high-wear corners before a journey gives you time to make a careful repair at home instead of discovering a leak in the rain.