Check whether it is really leaking
A pad that feels softer at dawn is not necessarily punctured. Air contracts as it cools, so a pad inflated in a warm room or on a sunny afternoon may lose firmness overnight without losing air. Top it up, leave it at a fairly steady temperature and check it again after a few hours. If it continues to soften, look for a leak.
Before searching the fabric, inspect the valve. Make sure it is fully closed and that its sealing surfaces are free of grit, hair or dried mud. If the valve has a removable part, consult the pad’s instructions before taking it apart. A small obstruction can prevent a good seal, while forcing a component can make the problem worse. Note whether the pad is an air-only model or a self-inflating model with foam inside; both can be patched, but their care instructions may differ.
Locate the escaping air
Inflate the pad until it is firm enough to put gentle pressure on the surface, but do not overinflate it. In a quiet place, press on one area at a time and listen near the valve, seams and spots that contact the ground. You may hear a hiss or feel a faint stream of air against your cheek or hand. Work systematically rather than squeezing the whole pad at once, and mark any suspected spot with a small piece of removable tape.
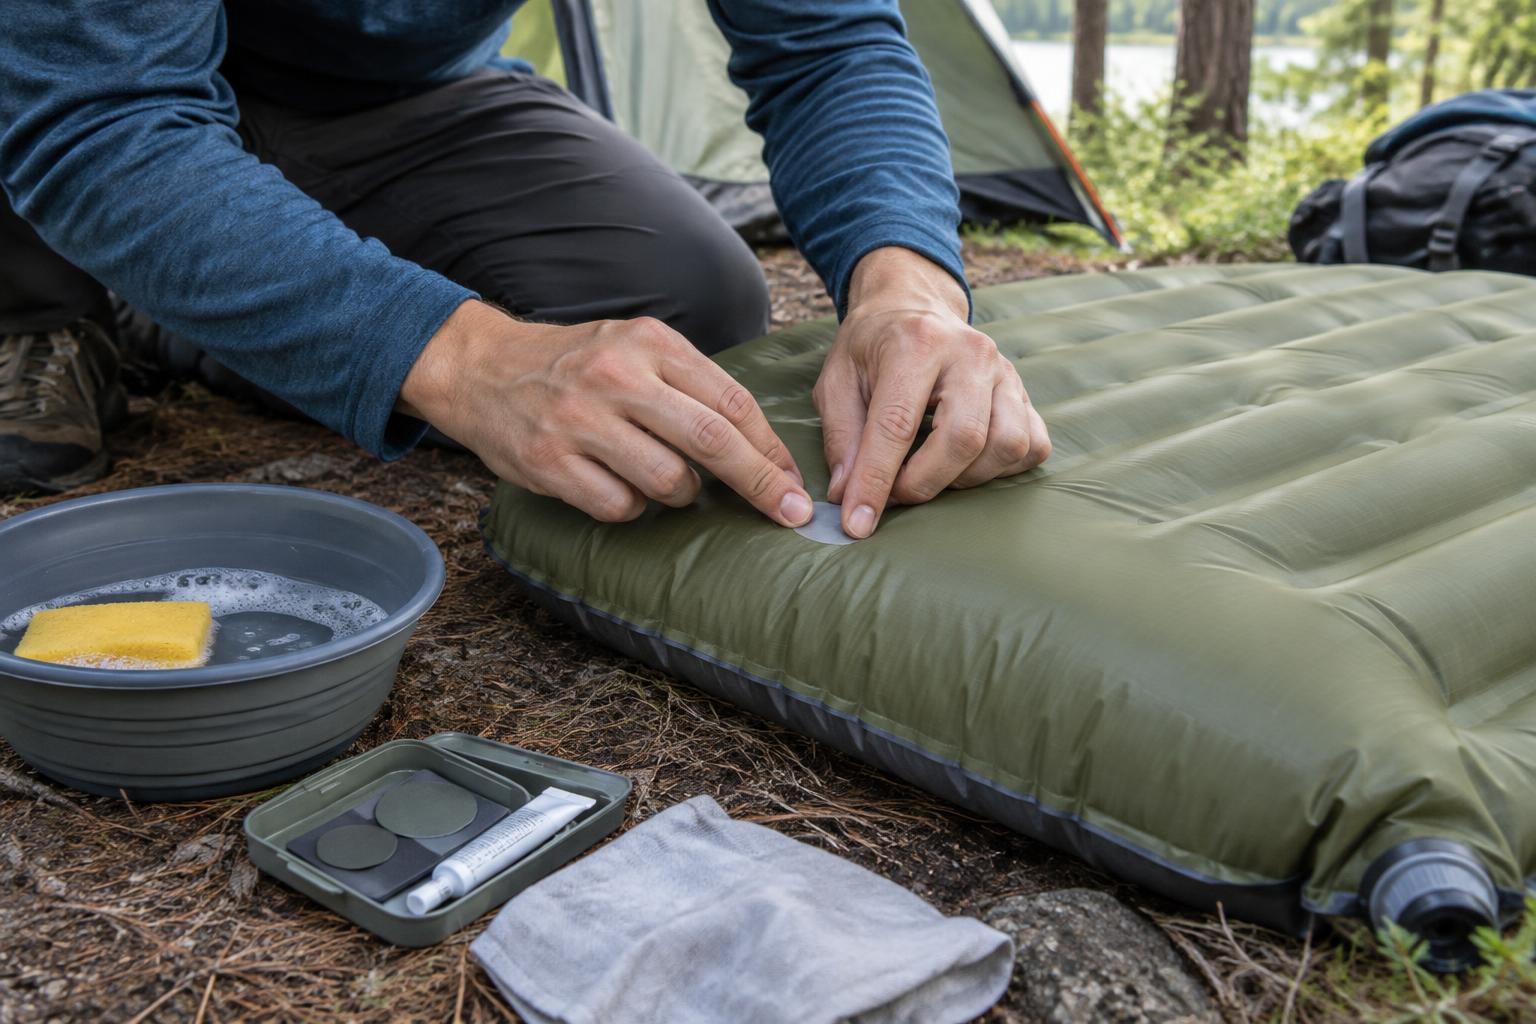
If listening does not help, brush a little water mixed with mild soap over small sections of the inflated pad. Steady, growing bubbles can reveal a pinhole. Check the valve and seams as well as the main panels. Mark the location, then wipe away the soap. Submerging sections in a tub can also show bubbles, but do so only if the manufacturer permits it; some pads are difficult to dry if water gets inside through the valve. A single burst of bubbles from trapped surface air is not proof of a leak, so watch the spot for a continuing stream.
Tiny punctures are often easier to find if the pad rests under light pressure while you inspect it. If you still cannot locate the leak, let the pad dry completely and repeat the search in a quieter space. More than one puncture is possible, especially after a night on rough ground.
Prepare the surface and apply a patch
Once you have found the hole, deflate the pad and clean an area wider than the planned patch. Remove soap, dirt and skin oils, then let the fabric dry fully. Follow the instructions for your pad and repair kit: coatings, fabrics, adhesives and peel-and-stick patches are not all interchangeable. If you must cut a patch from repair material, make it large enough to extend beyond the puncture on every side; rounded corners are less likely to catch and peel.
For an adhesive patch, place it over the marked hole and press firmly across the entire surface, particularly the edges. For a repair that uses glue, apply it as directed by the kit and allow the stated curing time before inflating the pad. Do not assume that a patch is ready just because it feels dry to the touch. On a trip, repair tape may help you get through the night, but treat it as a temporary measure unless it is specifically intended as a lasting pad repair.
Handle valve and seam leaks with care
A puncture in a flat fabric panel is usually the most straightforward repair. A leak at a valve, weld or seam may need a different approach. Clean and reseat a valve only as the manufacturer recommends; a damaged valve seal may require a replacement part. Similarly, a patch placed across a raised seam may not bond evenly. If air is escaping along a seam or from several nearby points, check the manufacturer’s repair and warranty guidance before applying glue. Avoid trying to fix the problem with heat, which can damage the pad’s coating or seams.
Test the repair before packing
After the recommended curing time, inflate the pad and check the repaired area with gentle pressure. A little soapy water can reveal whether bubbles still form at the hole or patch edge; wipe it off afterward. Leave the pad inflated for several hours at a steady temperature if you can. If it holds air, let it dry fully before storage. If it softens again, inspect the repair and keep looking for a second leak rather than immediately adding more adhesive.
For future trips, carry the repair supplies suited to your particular pad and keep them where you can find them after dark. Before setting up camp, clear sharp debris from beneath the sleeping area and avoid dragging an inflated pad over rough ground. A careful repair and a simple pre-trip inflation test can spare you another night on a slowly flattening pad.