Start with a quick clean after each trip
The easiest time to clean a hydration reservoir is soon after you get home. Empty any remaining drink rather than leaving it in the bag overnight. This matters especially if you carried a flavored drink: residue can linger in the folds of the reservoir, inside the tube and around the bite valve. Even when you carry only water, an after-trip rinse helps clear out anything introduced while filling or drinking.
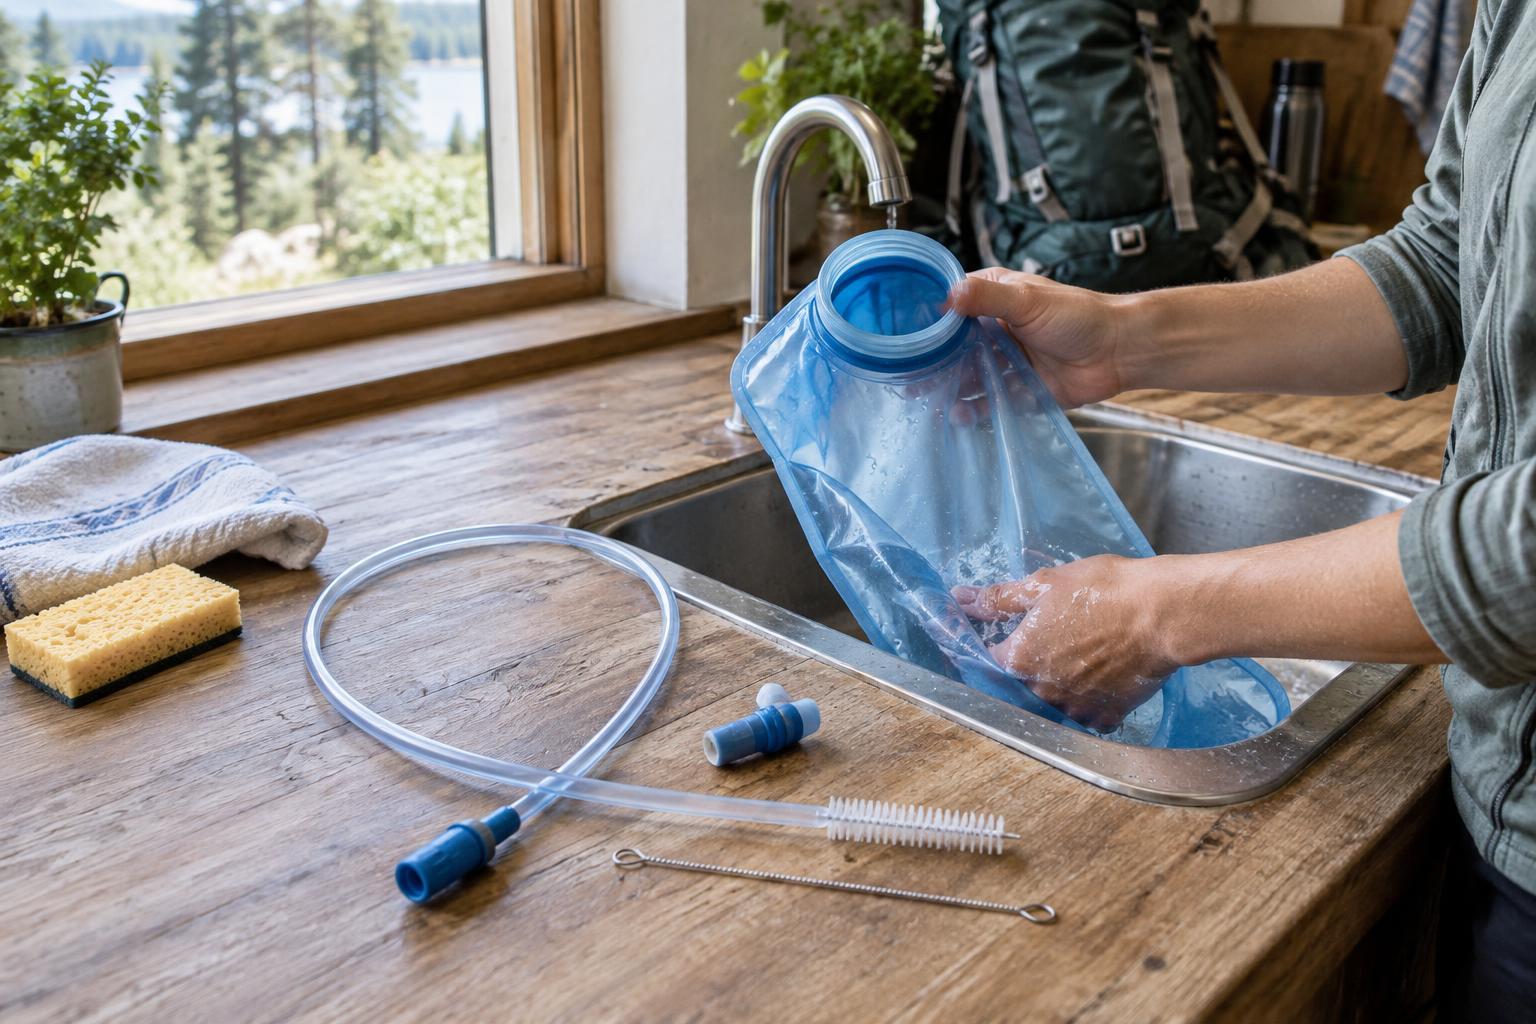
Wash your hands, then disconnect the tube and remove the bite valve if your model is designed to come apart. Check the maker’s instructions before pulling on fittings; some valves and connectors have small parts that are easy to lose. A soft sponge or cloth, a narrow bottle brush and a tube-cleaning brush are useful tools. Avoid abrasive pads that could scratch the inside of the bag.
Wash the reservoir without damaging it
Fill the reservoir with warm, not boiling, water and a small amount of mild dish soap. Close it and gently swish the water into the corners and around the opening. If you can reach inside, wipe the surfaces with a soft sponge or brush, paying attention to seams and folds where residue may collect. Clean the cap and its threads separately.
Pour out the soapy water and rinse several times with clean water. Run your fingers around the opening and inspect the corners as you rinse; slippery patches can indicate that soap remains. Do not put the reservoir in a dishwasher or use very hot water unless its care instructions specifically allow it. Heat and harsh cleaners may affect some plastics, seals or adhesives.
Flush the tube and clean the bite valve
The drinking tube needs more than an exterior wipe. Reconnect it to the reservoir while the bag still contains some warm, soapy water, then hold the bite valve open and squeeze the bag until water flows through the full length of the tube. Let it sit briefly while you finish washing the other parts. A flexible tube brush can help remove residue that flushing alone does not shift; use one sized for the tube so it does not snag a connector.
If the bite valve comes apart according to the maker’s directions, wash its pieces in warm, soapy water and gently work around the opening with a small brush. Rinse each piece, then fill the reservoir with clean water and flush the tube again until no soap remains. Reassemble the valve only after its parts are clean and dry.
Know when a deeper clean is useful
A more thorough clean is sensible after a sweet drink, a long period in storage or a trip where the reservoir stayed warm and full for hours. Start by washing away visible residue with soap and water. If your reservoir’s instructions recommend a cleaning tablet or another treatment, follow the product directions, including its contact time and rinsing guidance. Avoid improvising with strong chemicals or mixing cleaning products.
Check the reservoir, tube, connectors and valve while they are clean. A persistent unpleasant smell, visible growth that you cannot remove, cracks or a valve that no longer seals well may mean a part needs replacing. Replacement tubes and bite valves are available for some systems, so you may not need to discard the whole reservoir.
Dry it completely before storage
Drying is often the trickiest step because the sides of an empty reservoir tend to stick together. Shake out excess water, then prop the bag open with a clean drying rack or a purpose-made hanger. Leave it somewhere with good airflow, out of prolonged direct sun or strong heat. Hang the tube so water can drain from it, and leave the cap and any removable valve parts separate until they are dry.
Before packing the system away, feel inside the opening and check the low points of the bag and tube for trapped water. Store the reservoir open or loosely closed in a clean, dry place, following any model-specific guidance. On your next trip, give it a quick look and a fresh-water rinse before filling. That small check is an easy way to catch a lingering odor, a loose connection or a valve that needs attention before you set out.