Start with an unpacking area
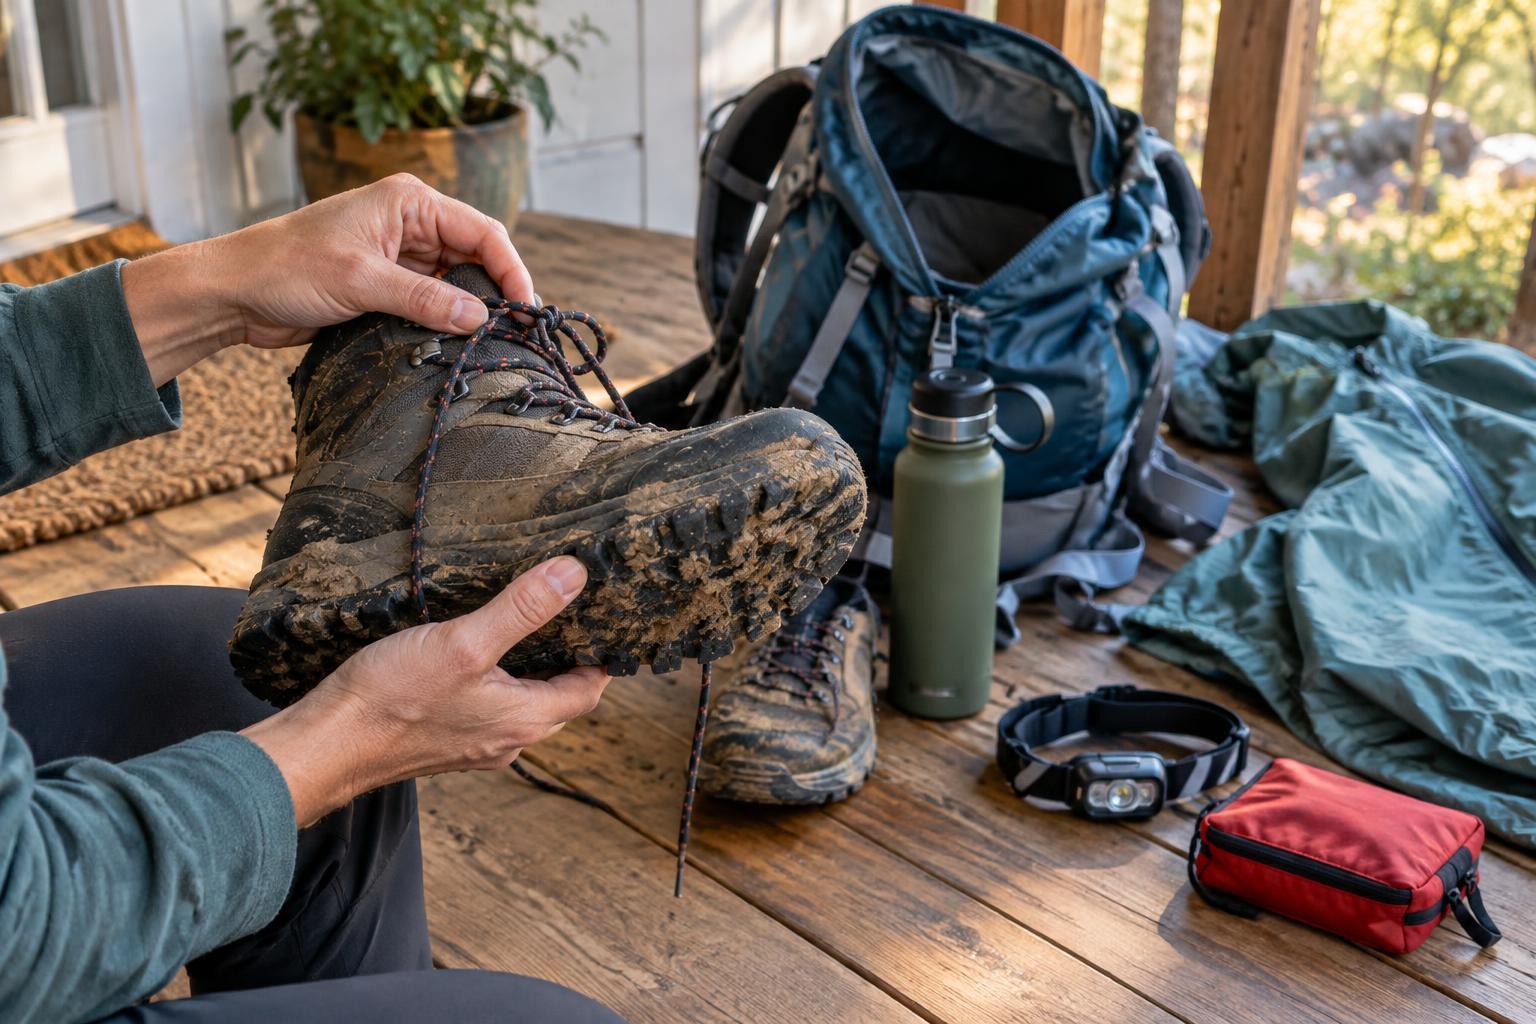
The easiest time to inspect equipment is soon after you get home, before everything disappears into a cupboard. Choose a spot where you can empty your pack, spread out damp items and collect loose pieces such as gloves, tent pegs or pole baskets. Put muddy footwear on a washable surface, and keep wet clothing away from clean, dry gear.
Sort items into three groups: ready to store, needs cleaning or drying, and needs attention. Keep a note on your phone or a small card in your gear box for anything to repair or replace. This step matters because a problem you notice now may be easy to forget by the time you plan another outing.
Inspect footwear and clothing
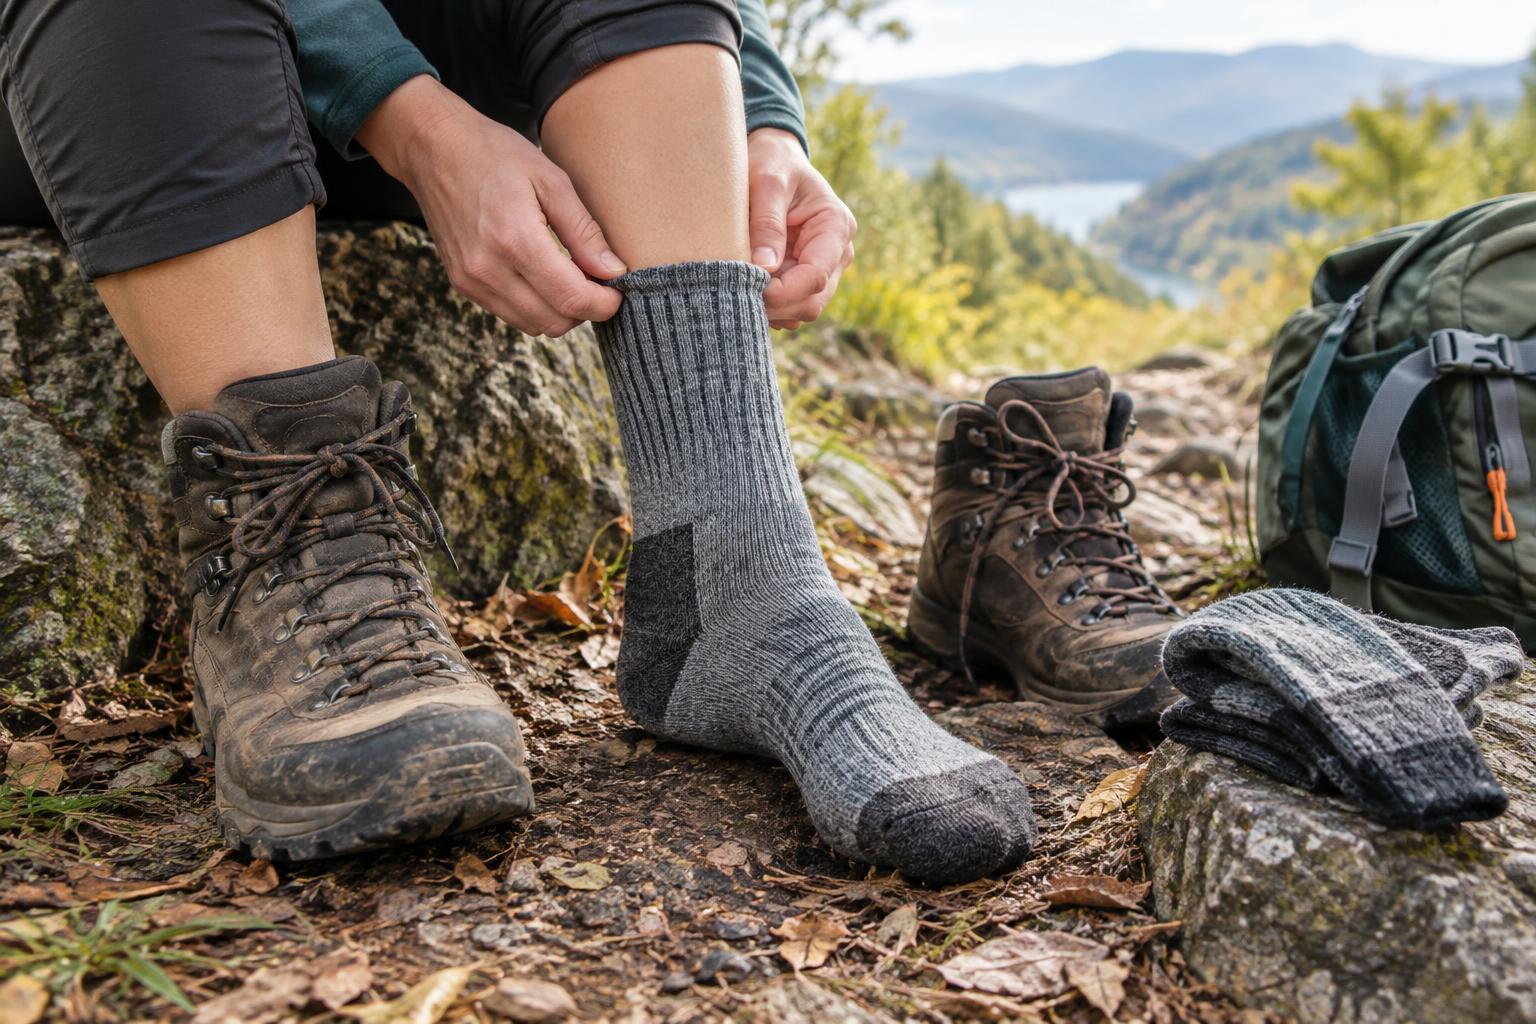
Brush loose dirt from shoes or boots, then look at the soles for worn tread, embedded stones or areas that are pulling away from the upper. Check seams, laces, eyelets and the inside of the heel for damage or rough spots. Remove insoles if they are damp, and let footwear dry in a ventilated place away from direct heat. Check the care instructions before using cleaners or treatments.
Turn to clothing once it is out of the pack. Check high-wear areas such as cuffs, knees, pockets and the points where pack straps rub. Look for small tears, loose stitching and zippers that catch. A rain layer that wets out on the surface may need cleaning or renewed water-repellent treatment, but follow its care label rather than applying a product by guesswork. Wash sweaty or muddy pieces as directed and let them dry completely before storage.
Check your pack and accessories
Empty every pack pocket, including the small ones. Shake out grit, remove food wrappers and check for forgotten damp items. Examine shoulder straps, the hip belt and their attachment points for fraying or loose stitching. Open and close each zipper, test the buckles, and look for holes in the pack body or rain cover. If a strap or buckle is important to carrying the load securely, address damage before using the pack again.
Give walking poles and other frequently handled accessories a quick check. Extend and collapse poles to see whether the locking mechanisms hold as intended; clean and dry them according to the maker’s guidance. Check sunglasses, hats and gloves for damage, then return small pieces to a consistent pocket or storage pouch. A familiar storage place makes it easier to tell what is missing next time.
Review water, light and first-aid items
Empty water bottles and reservoirs, inspect them for leaks or damaged seals, and clean them as their instructions recommend. Allow them to dry thoroughly, including caps and drinking tubes. If you carried a filter, follow its specific cleaning and storage guidance; filters do not all tolerate the same treatment, and some can be damaged by freezing.
Test your headlamp and check its casing, strap and batteries. Recharge it or replace batteries as needed, then store it so it cannot switch on accidentally. Open your first-aid pouch to replace anything used, damaged or past its marked expiry date. Do the same for everyday essentials such as sunscreen and insect repellent. The aim is to make your kit dependable, not to pack more than your trips require.
Finish with repairs and dry storage
Before putting gear away, decide what you can clean or mend and what should be replaced. A loose zipper pull or small fabric snag may be straightforward to address. Damage affecting support, weather protection or another essential function deserves more caution; check the manufacturer’s guidance if you are unsure whether an item remains suitable for use. Keep anything needing attention separate from ready-to-go gear.
Store clean, dry equipment where it is protected from moisture and unnecessary heat. Avoid sealing damp fabric in a bag, even if it looks nearly dry. Finally, glance at your notes and add missing supplies to your pre-trip list. A post-trip inspection does not have to be elaborate: a few deliberate minutes after each outing can leave you with fewer surprises when you next head out.